The GIMP: A Powerful Free Image Editor for Teachers and Students
If you have projected a presentation in the classroom, created a website or blog, or produced a digital video with title screens as part of your educational practice, chances are you have had to use some form of image editing software. Depending on which operating system you are using, you may have even experienced frustration with the limitations of its pre-installed software. Fortunately, you have the option to download a powerful free and open source solution wherever and whenever you require.
The GNU Image Manipulation Project has created an image editing tool called the GIMP. According to the project’s web site, the GIMP is “a cross-platform image editor available for GNU/Linux, OS X, Windows and more operating systems. It is free software, you can change its source code and distribute your changes.” Last year, in 2016, the software was ranked #191 on the Top Tools for Learning 2016 website.
The boot screen for the software with Wilbur, the GNU Image Manipulation Project’s Mascot.
Having used the software for a number of years, I can vouch for the fact that it is a mature solution that can be useful to teachers and students alike. The fact that it is free means that you can download the software to as many computers as required, and both institutions and students can keep their costs down by opting for this solution. Advanced users also have the option to extend the features through scripting, or even tweak the source code of the software if they have the know-how.
Uses for Teachers and Students
There are a number of potential uses for the software for the colleges. Some of these include:
- Editing and resizing images for use in presentation software, like PowerPoint, Google Slides or LibreOffice Impress
- Photo retouching in digital photography courses
- Editing images for websites and blogs
- Editing graphs
- Creating logos
- Creating and editing maps with varying degrees of detail
- Cropping and resizing photos or images for your department’s web site
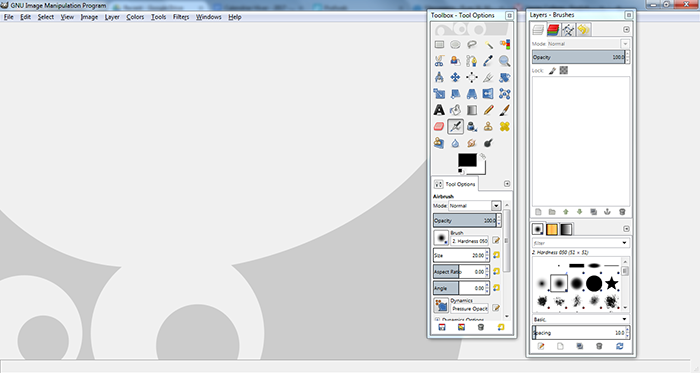
The Interface of the GNU Image Manipulation Project’s tool, the GIMP.
The GIMP has a number of features that make it a powerful image editing tool. Many of these features are those you would see in commercially available products, like the ability to adjust colours and brightness, crop, flip, or resize pictures, airbrush out flaws in photos and add text to images. There are a many import and export formats that the GIMP can handle, including popular formats like .JPG, .GIF, .PNGs. There is so much packed into this software, but we thought it would be a good idea to stick to 2 or 3 of the most useful features.
One of the key features in the GIMP is the ability to have multiple layers within your image, which allows you to isolate and treat specific parts of the image and stack them on top of each other. Think of how animators historically used transparent gels stacked on top of each other to create cartoons. The background in the cartoon is a layer, and each character would also have their own layer stacked on top of the others. To the naked eye, it seems like one layer. The layers in the GIMP’s native .XCF file format are a digital version of this type of approach, and each layer can either be visible or made temporarily invisible according to your needs. To illustrate its usefulness, imagine you are working on a geographic map. You could simply show the territory (Quebec) with its borders, or you could add a distinct layer for rivers (Fleuve Saint-Laurent), city names (Quebec City, Montreal, Trois-Rivières), special symbols to indicate points of interest (capital city, airports) or other relevant details (elevation, administrative regions, railways, etc.). You can export images from the GIMP showing as little or as much detail as you require.
First Steps with GIMP
The GIMP image editing software is truly powerful and can be intimidating if you try to master it too quickly. When I first started learning to use the software, I opened a photo in the GIMP to try out the different tools and filters in order to see what they do to the image. Since I began using the software, a number of tutorials have been posted to YouTube. Here is one that will help you get started once you have downloaded and installed the software (make sure to click on the full-screen button to see the detail):
An Introduction to GIMP 2.8.
Supporting Free Software
Although the GIMP is free software, there are people that dedicate a significant portion of their time to advancing the development of the software. In order to encourage their efforts (and help them to continue to eat), the GIMP website mentions ways that you can financially support the project. There are non-financial ways that you can contribute to the project as well, whether it be spreading the word to colleagues and students, contributing to the revisions of the GIMP’s manual or, in my case, writing an article on Profweb!
You will not regret giving the GIMP image editing tool a whirl. It is as useful in our professional lives as it is in our personal lives (ex. editing your family or vacation photos from around the world). It is very rewarding once you gain some experience and are able to transfer the creative ideas in your head to the image on your screen. Whatever your approach to learning the software is, have fun!
Are you using the GIMP image editing software in your educational practice? We’d like to hear how you are using it in the comments area below!
